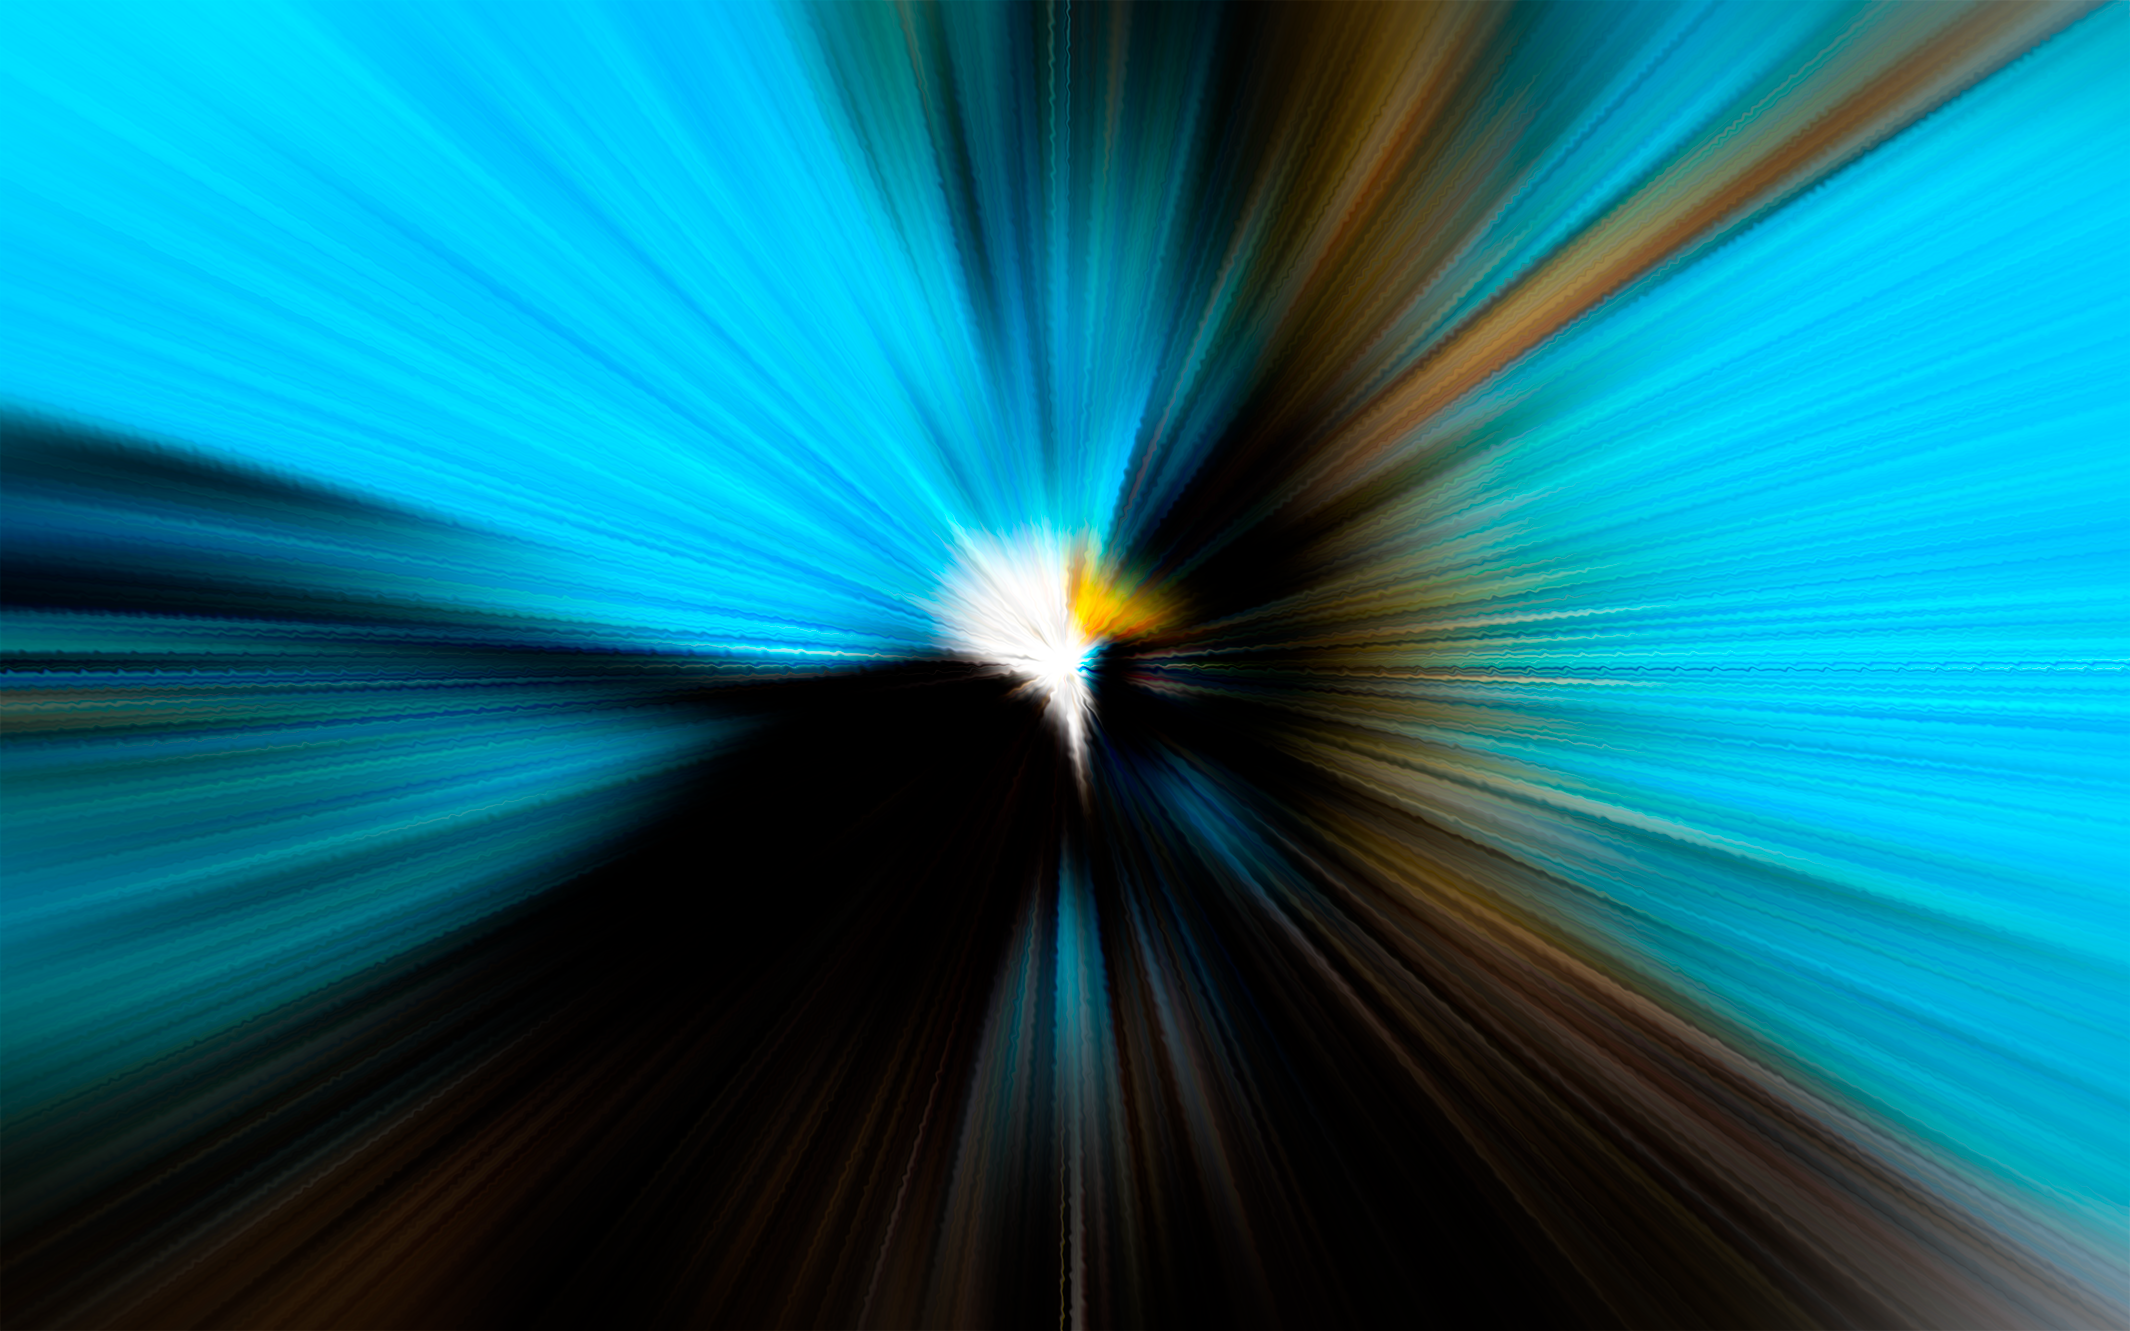
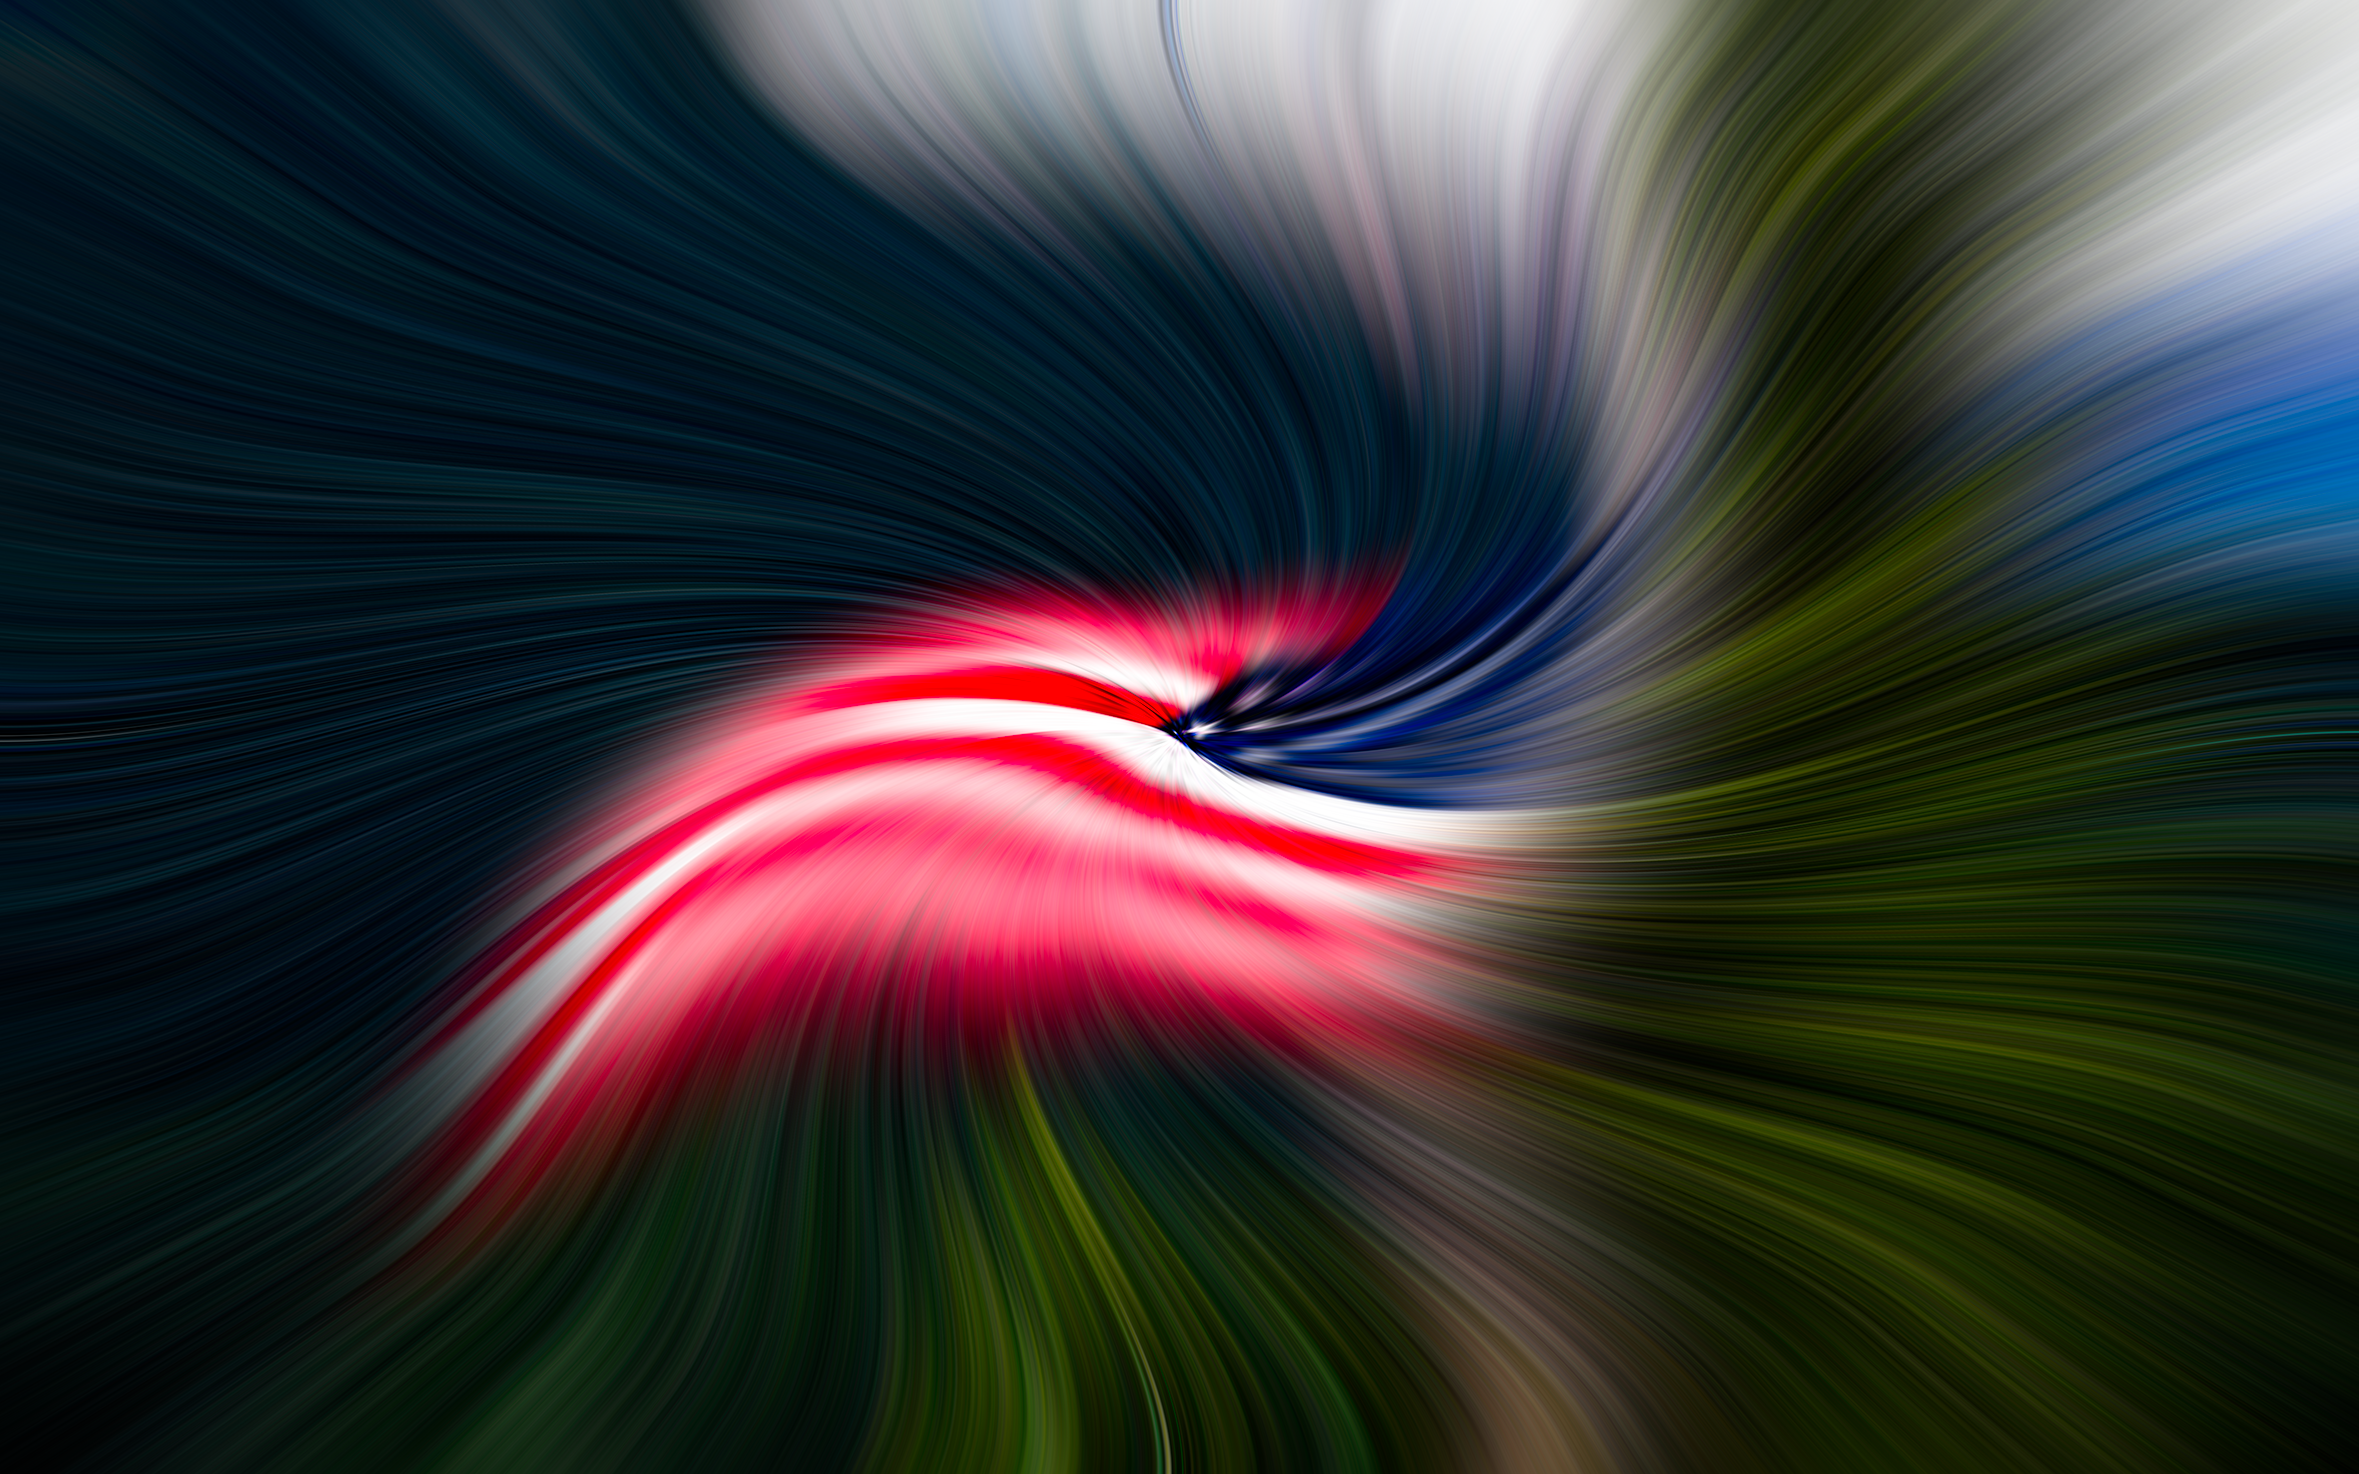
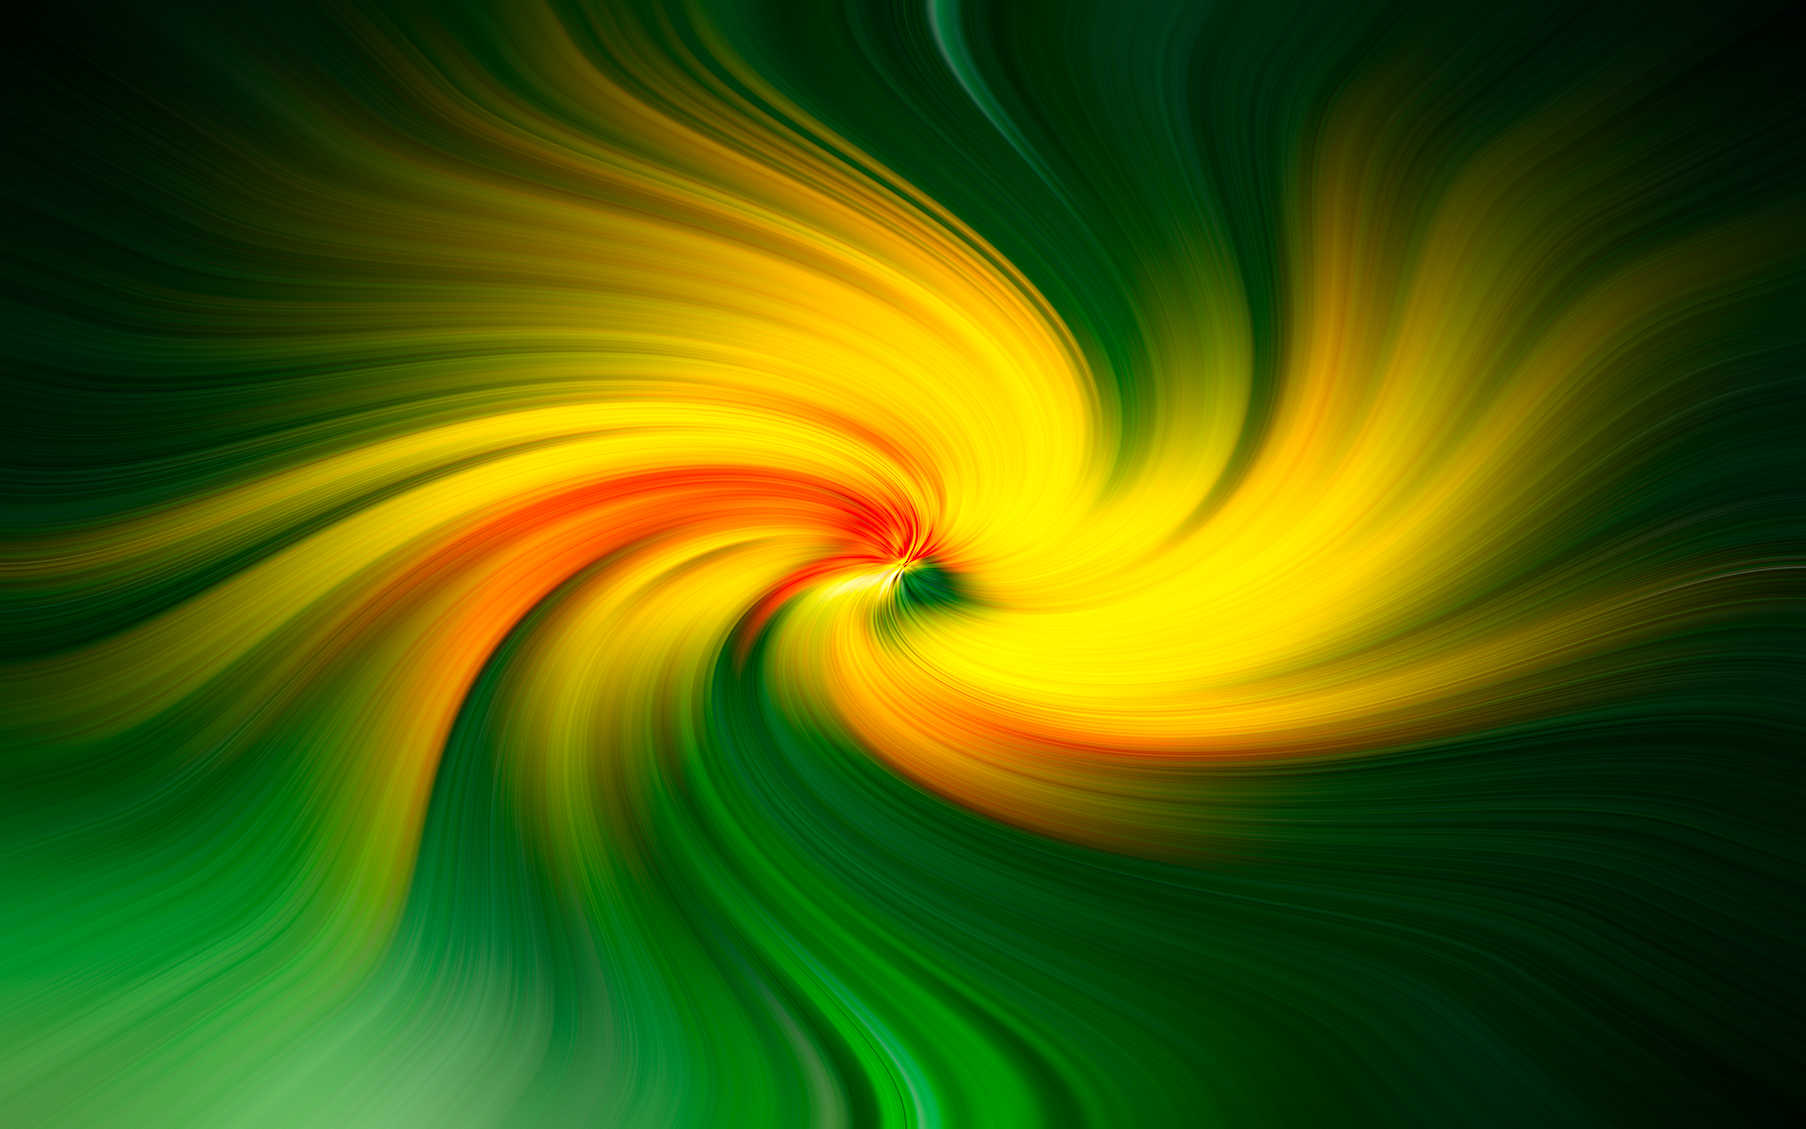
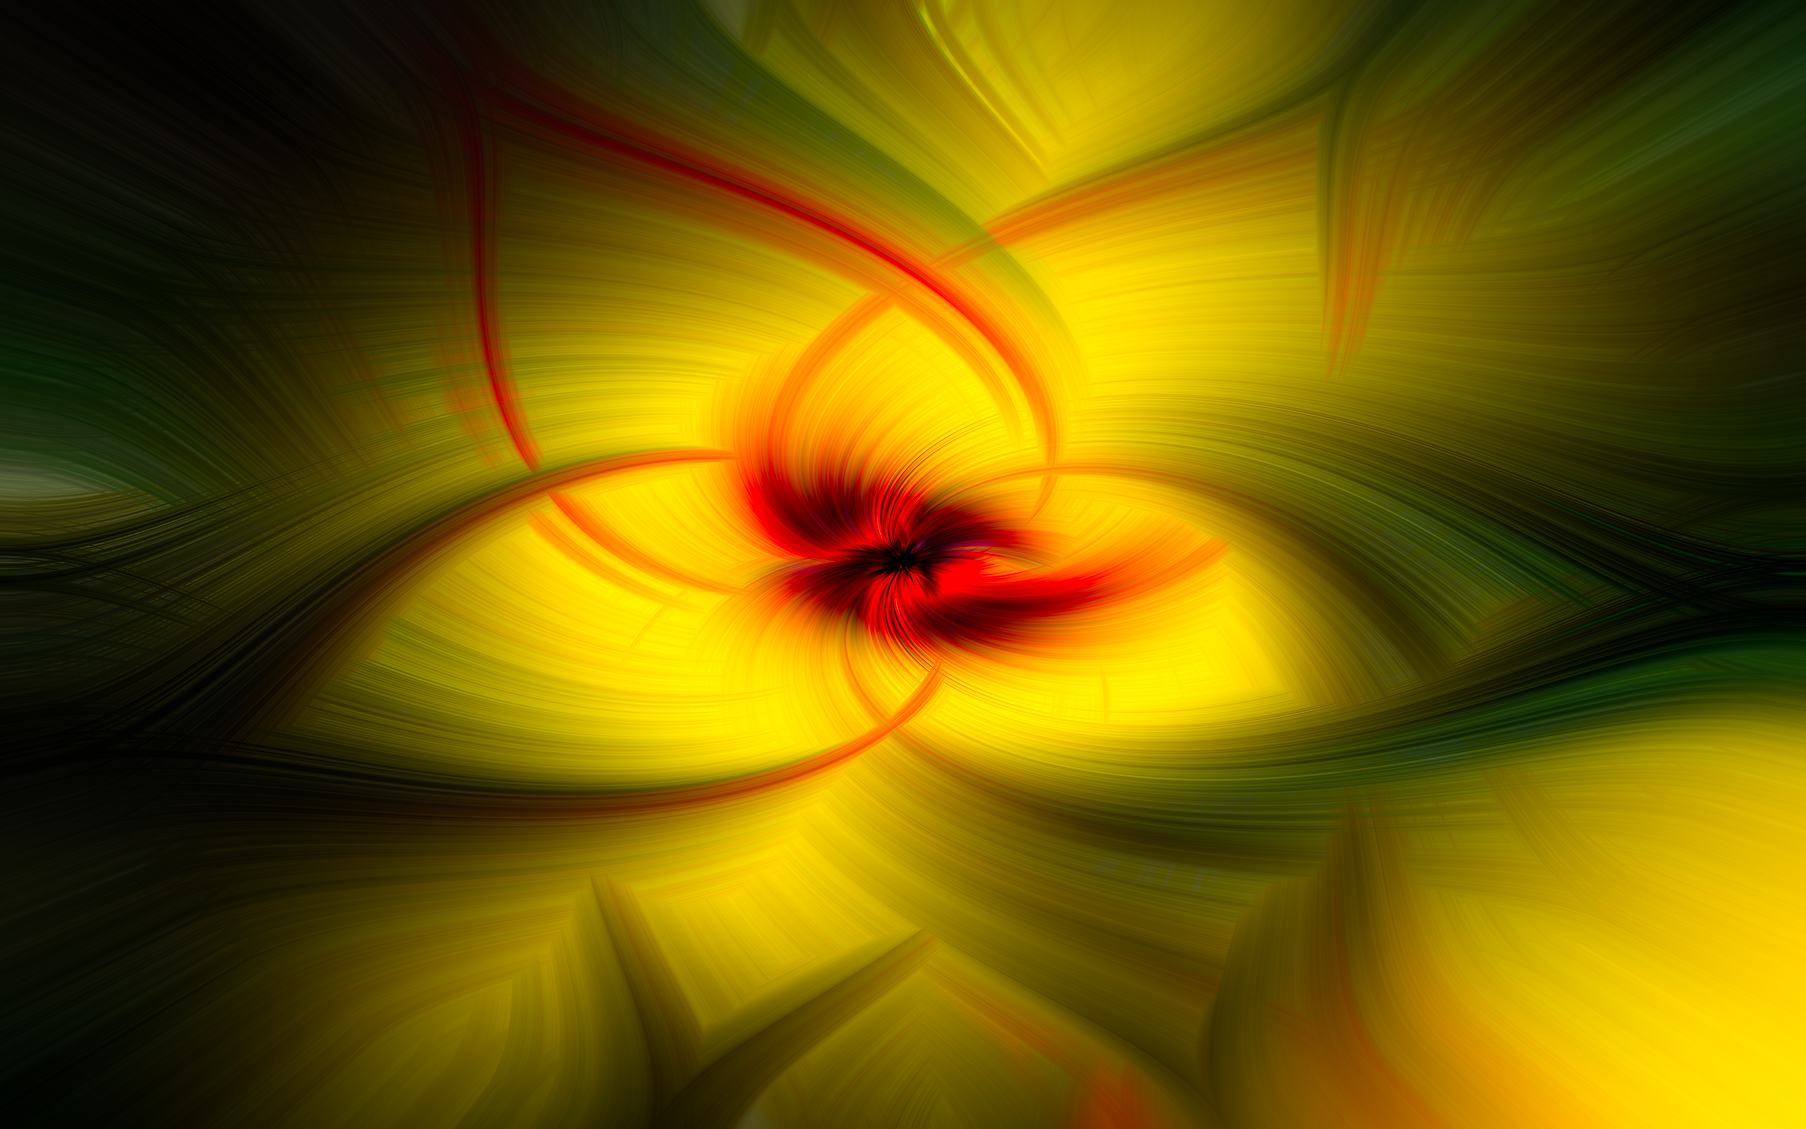
Swirl in the Colors
Photo Twirl
This page is by far the fastest that has come on Lens & Atlas from idea to the actual post. The idea of Photo Twirl is not very new but I have been always somewhat intimidated by Photoshop. There are some really cool things that people
do with it but a lot of it probably requires a huge time commitment both to learn and execute the ideas. So when I saw this one being tried by a few members of a photography club, I wanted to try and surprisingly it was easy to learn.
And some of the photos turned out really interesting. Overall, this page was created from concept to code in less than 8 hours!
Scroll below if you want to know how I made these photos. Or you can simply search "Photoshop Twirl" and find many great tutorial vidoes on YouTube.
Click on images to enlarge.
To create a photo twirl, choosing the right photo the most important element. Photos of flowers and birds with a central focus point, tend to work great.
The instructions here assume that you have some level of familiarity with Photoshop
- Open the photo in Photoshop
- Make a copy of the photo by clicking Image > Duplicate
- Since this requires a lot of memory to process, it is better to resize the image to a smaller one when you are tinkering with the twirl and once you are satisfied with the results you can scale back. To resize the duplicated photo click Image > Image Size
- Turn the image into a smart object
- First we pixelate the image. Apply Mezzotint filter Filter > Pixelate > Mezzotint (apply long strokes)
- Apply Redial filter three times (2 times draft; 1 best)
- Apply twirl filter; play around with the degrees you want to twirl the image
- Copy the entire layer with all filter adjustments
- Change the blend mode to Something other than normal (darken, lighten or pin light)
- Copy the original image
- Open the smart object image by double clicking on the image itself. A new tab will open for the image
- Paste the image on the canvas
- Then click on Image > Reveal All
- Save the image
- Go to the twirled image and click on Image > Reveal all
- Cick on View > Fit to Screen
- Merge visible to new layer by clicking Shift+Ctrl+Alt+E
- Form here you can make a reversed copy of the image by duplicating the layer and clicking Edit > Transform > Flip horizontal to make a symmetrical image and change the blend mode


